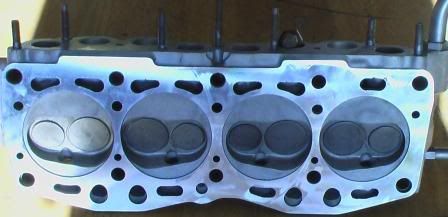
So here is the head all planed and ready for installation.
Need a tissue?
The head was planned to get rid of a not greater than .006" warpage across cylinders 2-3. While apart, I also had a valve stem/seal job done with new seals and settings. While I did have the valve area cleaned inside to remove excess carbon, I didn't spend the money to have the valves opened up anymore. The valves are already bigger than stock, and I do have a budget. I did get the valves seated to the head, so it should provide an excellent seal, and some improvement in compression
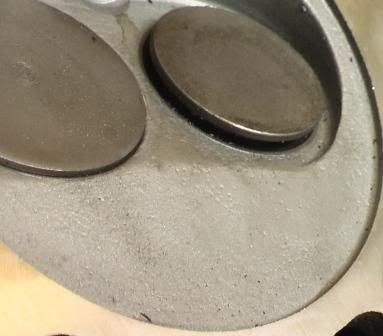
Seated Valves
I don't particularly care to bend over. Yes, getting older sucks, and waking up with a sore back is not fun. So, I'm choosing to do a bench valve job. Its a little harder in terms of redundant assembly, but much easier than bending over a car that is so low to the ground. In assembling engine components that have been cleaned dry, you need lots of lubricant to prevent friction, and scoring of sensitive components. You can see my makeshift squirt bottle with Synthetic lubricant, and a tube of Engine Assembly Lube. Use these LIBERALLY!

This is what the tissue was for. What were you thinking?
In dry assembling the cam box to the head, you have to torque everything down equally. See the cam is going to be applying areas of lift as the duration is exposing itself to the tappets and ultimately the valves. Be sure to do this work on a surface that has your head up off of the bench or you risk bending a valve. Both time consuming and expensive. Especially with these big hard to find valves. You may not be able to see it in the picture, but there are blocks underneath the head.
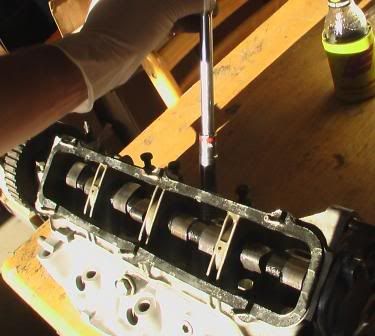
Applying even hand torque
What is done next is the measurement of the shims seated in the tappets. This is a time consuming process made far more difficult by silly American standard measurements as opposed to the metric system.
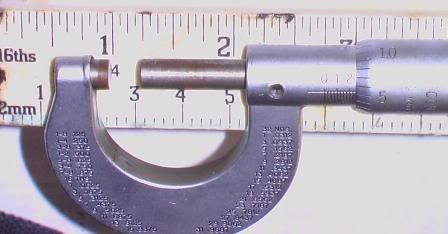
Shim measurement tool
Unfortunately I need to sign off tonight. I have been doing this work at my warehouse in Gardena/Compton, and late at night it gets, well interesting. So I promise more updates to come. Right now I am concurrently assembling the cleaned and detailed A/C, alternator, water pump, and mounting hardware. It hasn't come without excitement I'll say.
Stay cool, and keep the tissues near.

No comments:
Post a Comment